Specialty diagnostic page
When a San Rafael Sub-Zero wine column drifts several degrees
Why does my Sub-Zero wine fridge keep drifting off temperature in San Rafael?
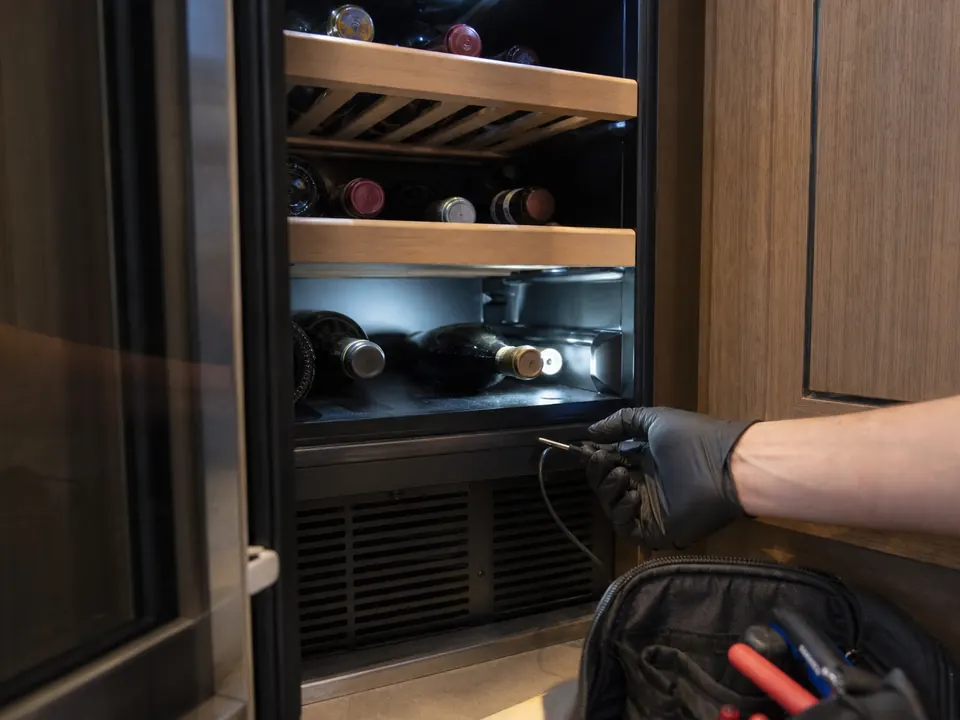
A dual-zone Sub-Zero in Lucas Valley / Marinwood near 94903 that strays several degrees from its set point usually points to a tired zone fan, a misreading thermistor or a leaking door seal; San Rafael Sub-Zero Repair confirms which with a 24-hour probe log. Steady your bottles by calling (415) 683-1487.
If a Glenwood home reports an ice maker slow, jammed, or producing hollow cubes and also has a Sub-Zero wine column drifting several degrees, the visit should separate freezer performance from wine-cabinet stability. Wine storage diagnosis uses temperature logging, fan and thermistor checks, gasket review, and model-specific control verification. It is not a generic refrigerator call.
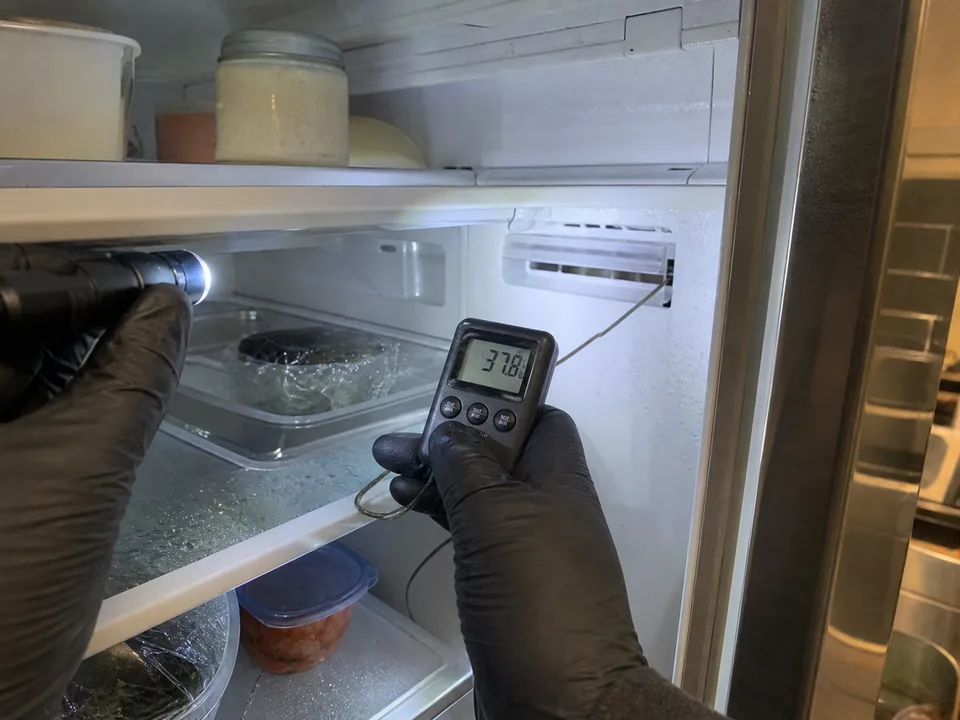
1 Read temperatures
2 Inspect airflow
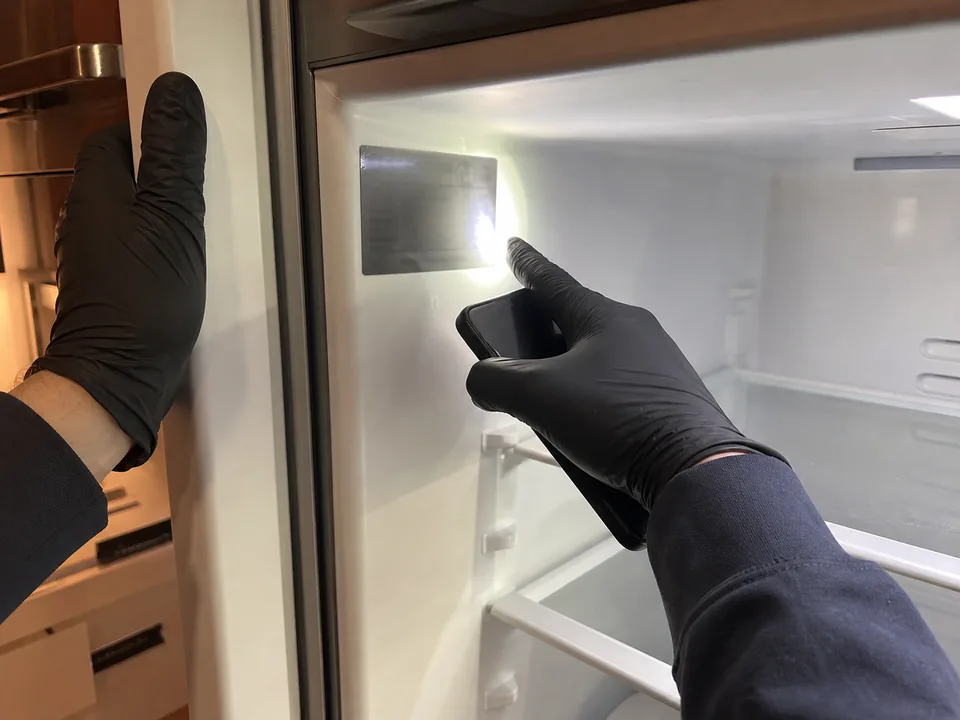
3 Verify part by serial